Posted on

The Most Versatile, Easy-to-use Gluten-free Flour Blend

I get asked about what we use to replace wheat flour often.

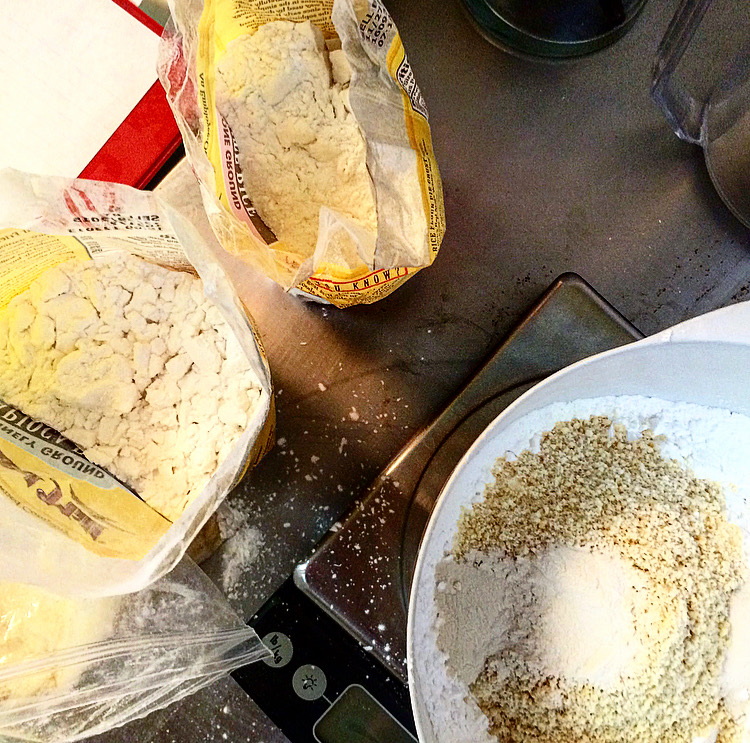
The gluten-free flour blend we use for most of our baked goods at The Red Bandana is comprised of four components:

  1. White rice flour: Although it can lead to poor texture when used alone, white rice is valuable in a blend because it has a neutral flavor and it adds volume without being too heavy or gummy.
  2. Brown rice flour: Brown rice brings to the party a little more nutrition, more complexity in flavor, and a little color (nobody wants white-as-a-sheet bread).
  3. Potato starch: Soft, powdery, and much less gritty than either type of rice flour, potato starch is nice and tenderizing.  Much like corn starch can thicken a gravy, it adds that chewy gluten-like action in GF doughs.
  4. Tapioca starch: The least well-known of our four ingredients, tapioca is a root vegetable (aka cassava) common in South America and its starch allows gluten-free baked goods to be more elastic and hold their structure better than a gritty, crumbly rice-reliant product.  If you’ve ever had boba tea you might be familiar with that nice bounce-y stretch-y feeling 🙂

Although we do deviate from this blend for some items that we’re looking for a different texture or nutritional profile in, I highly recommend this combination for most cakes, cookies, and even some breads.  The ingredients are all available at most Asian grocers and on Amazon if you’d like to source your own–feel free to ask us for the exact ratios!  If you’d prefer to get it already blended (which is nice because you won’t have odd small amounts of leftover components) we do sell it by the pound, just ask next time you’re at the shop 🙂

One final component that can be crucial in many GF items is xanthan gum.  We don’t blend this in because I find that the amount you want in different items varies widely and can be disastrous if wrong.  Too much xanthan gum and your item will never bake through, staying gummy and custard-y no matter how long it’s in the oven; add too little and it will be dry and fall apart.  Most good gluten-free baking recipes will advise an amount to add (usually less than a teaspoon), and it’s best to add it to your flour blend ad hoc.

Note that you can’t sub this blend in for wheat flour in most normal glutinous recipes (you use much less flour for GF breads, for example), but when used appropriately we find that the results with this combination can be just as good if not better than their gluten-full counterparts.  Try it and let me know what you think, or which gluten-free flours you’ve had success with!

Posted on

Grandma Mertz Bread: The recipe

The Grandma Bread Recipe (August 14, 2013):

Picture 4

Mix together:

  • 3 cups water (120 degrees F)
  • 2 T olive oil
  • 2 packets dry yeast
  • 2 T sugar
  • 1 T salt

until combined.  Add:

  • 4 c bread flour (either Robinhood or Gold Medal) until it’s all absorbed, and then another:
  • 4 c bread flour, and continue to mix, probably with your hands, until that’s all absorbed.

Cover that with a towel and let it rise at room temp for 10 minutes, then punch it down with your knuckles, kind of punching your hands together. Let it rise under a towel for 10 minutes, then;

  • Punch it down 4 more times, every 10 minutes.
  • Punch it down one last time (so you punch it down a total of six times–every 10 minutes for an hour), lightly flour the counter, and then roll the whole batch of dough out into a giant flat like a pizza, about 4×4 feet.
  • Cut that flat into quarters.
  • Shape and roll each quarter into a tight loaf that’s about 18 inches long, and tighten it on the ends. Score three or four lines across the top of each loaf.
  • Cover them with a towel and let them rise for an hour and a half in a warm, draft-free area.

Dust a baking sheet with cornmeal and transfer loaves to sheet. Bake for 20 minutes at 350 degrees F. Remove from the sheet when they come out of the oven and brush with melted butter (if you like the crust soft. Grandad likes it crustier and crispier, the only problem with that is that when you slice it the crust sometimes falls off).

So this is the recipe we know works. Because we can’t help ourselves and we always want to play, we’ve also considered trying different things with this recipe, like:

  • cooking with convection
  • scoring after proofing instead of before
  • brushing with egg white before baking

But for now, we recommend just doing it the way Grandma always has 🙂

Note: One thing we did try playing with was refrigerating and freezing the dough. If you really want fresh bread on a Wednesday, by any chance, but you only have time to make and punch down and shape all this dough on Sunday, we tried refrigerating and freezing some of the dough after we shaped it but before it had risen at all. We found that if you put the dough in the refrigerator the night before you want to bake it, you can take it out and let it rise for an hour and bake it off the day you want to eat it, and it comes out just as fresh. You can also put it in the freezer until the night before you want it, transfer it to the refrigerator the night before, and do the same. The freshness seems to have the most to do with the day you bake it, and very little to do with the day you mix it. That being said, I probably wouldn’t recommend freezing it for any more than a week.